| To improve the quality of video conferences and save bandwidth, it is recommended not to conduct them with a VPN connection. |
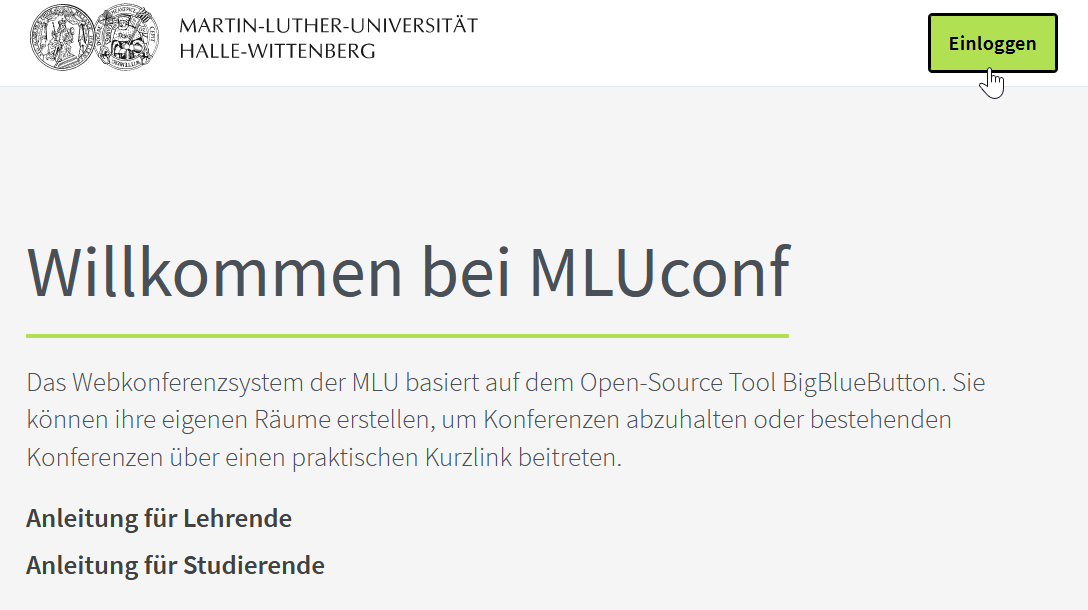
MLUconf is a video conferencing system. It is based on the open source software BigBlueButton and operates on MLU-internal servers. MLUconf can be accessed through three MLU platforms:
- Directly at MLUconf: https://mluconf.uni-halle.de
- In courses on Stud.IP and study groups
- On ILIAS courses and groups
MLUconf at mluconf.uni-halle.de
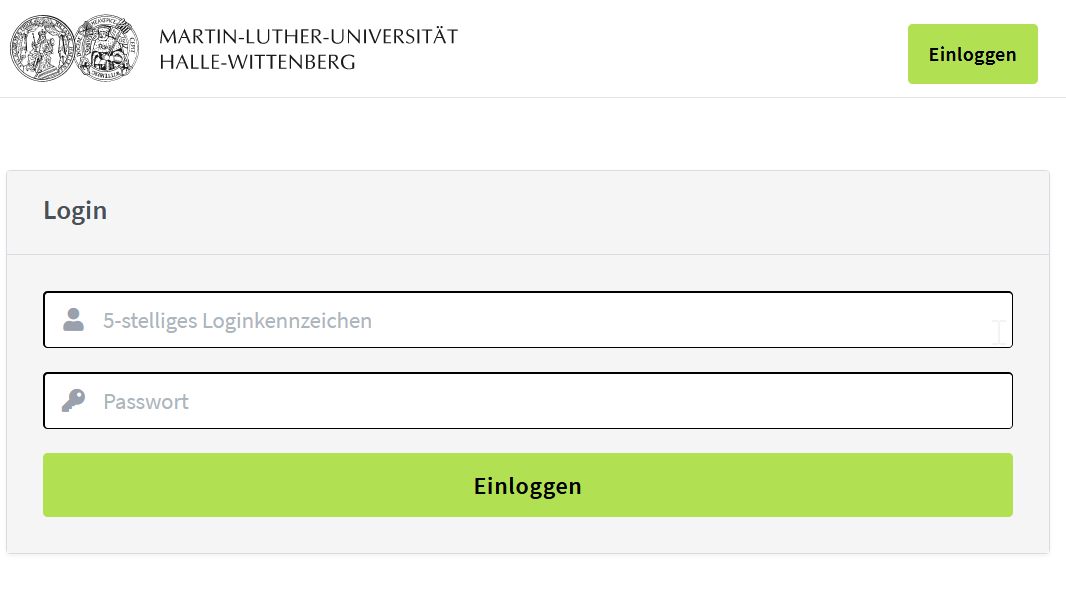
Navigate to the MLUconf homepage by opening https://mluconf.uni-halle.de.
There, you can log in with the button in the top right corner.
To log in, please use your 5-digit MLU user ID and your AD password for this ID. The AD password is used for all major MLU services, such as MLU mail and VPN.
If you encounter any issues with your password, please contact the service platform to reset it. Please note that this new password will apply to all major MLU services, not just to MLUconf.
Homepage MLUconf
Login MLUconf


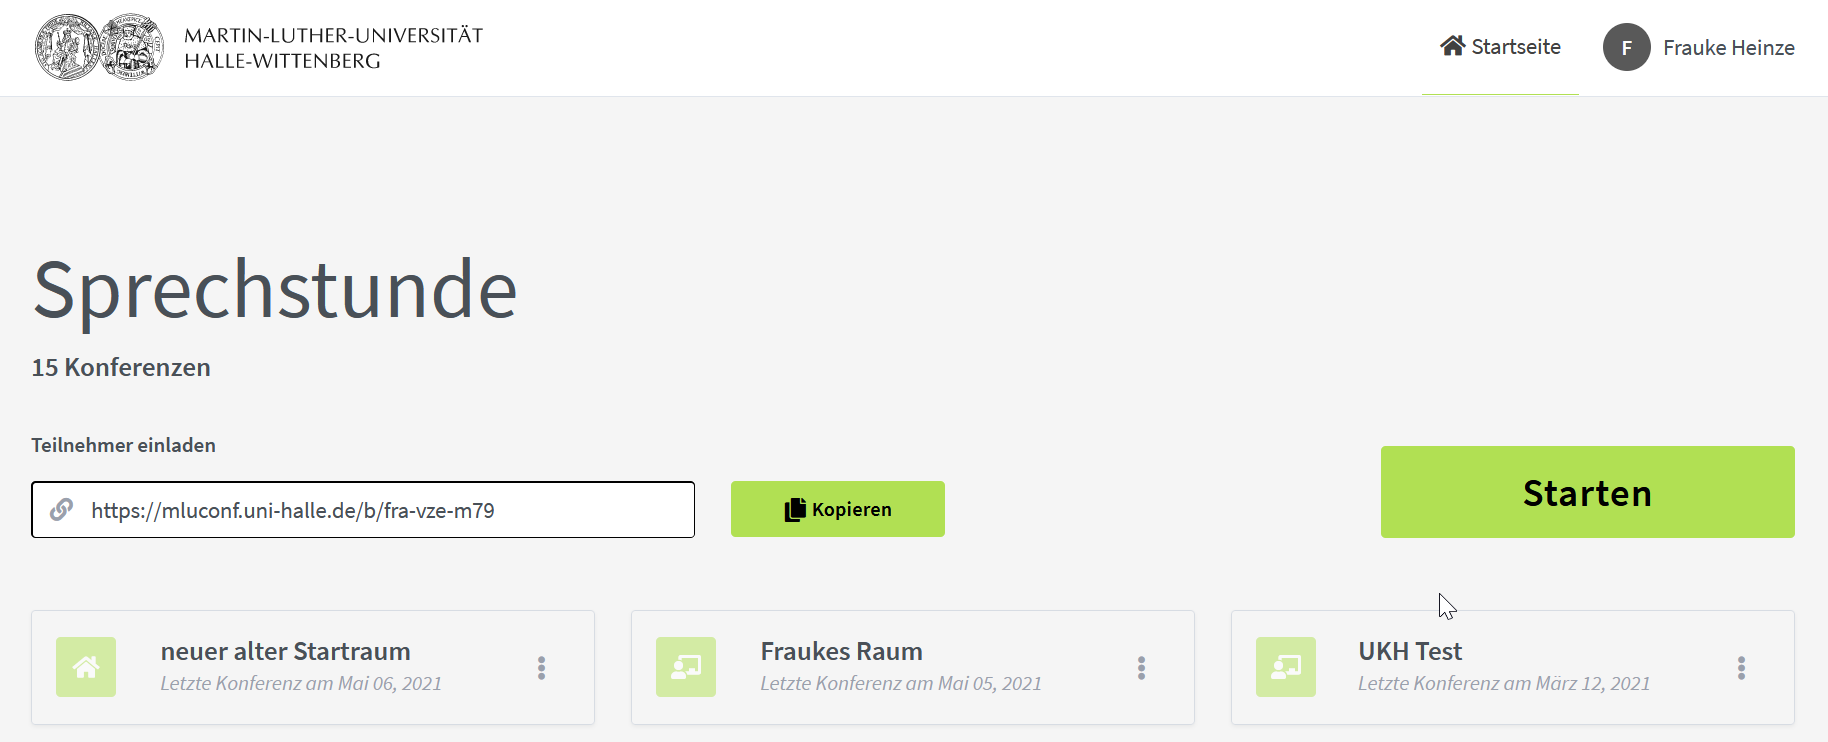
The homepage of MLUconf provides an overview of all the online rooms you have created at mluconf.uni-halle.de, as well as the rooms that others have shared with you. You can add new rooms here.
Overview at mluconf.uni-halle.de and Shared MLUconf Rooms

Creating a Room, Room Settings, Deletion of Rooms
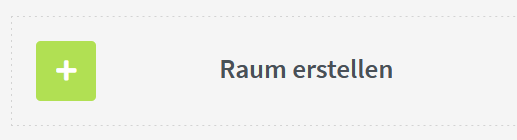
To create a new room, click on the “Raum erstellen” button located at the bottom of your overview if you already have multiple online rooms.

This will open the room settings where you can enter a name for the room. You can also generate a random access code with the cube symbol to protect the meeting from unwanted access.
Additional optional settings are available:
- "Teilnehmer beim Betreten stummschalten": participants will be automatically muted upon entering the room. They can unmute themselves if they wish to speak.
- “Freigabe durch Moderator bevor der Raum betreten werden kann“: Participants will be placed in a queue and will need to wait for the moderator's approval before they can enter the room.
- “Jeder Teilnehmer kann das Meeting starten“: if this is enabled, the first person to access the meeting will open the online room and start the meeting. Otherwise, participants must wait for the moderator to start the meeting. You can find more information here
- “Alle Nutzer nehmen als Moderator teil“: all participants will have moderator rights. For an overview of different roles and rights in MLUconf, please refer to the documentation
- “Automatisch dem Raum beitreten”: all participants can enter the room and start the meeting
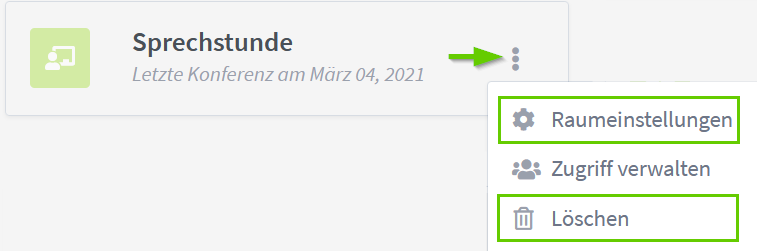
To modify the settings of the meeting room, click on the three dots next to the room. Please note that any changes made to the settings will affect the ongoing meeting. To delete the room, select 'Löschen' from the options in the three dots menu.
Button "Raum erstellen"
Modification of Settings; Deletion of the Room


To start a meeting, select the desired room in your overview and click on “Starten”. The meeting will open in the same window/tab.
Share a Room with a Link
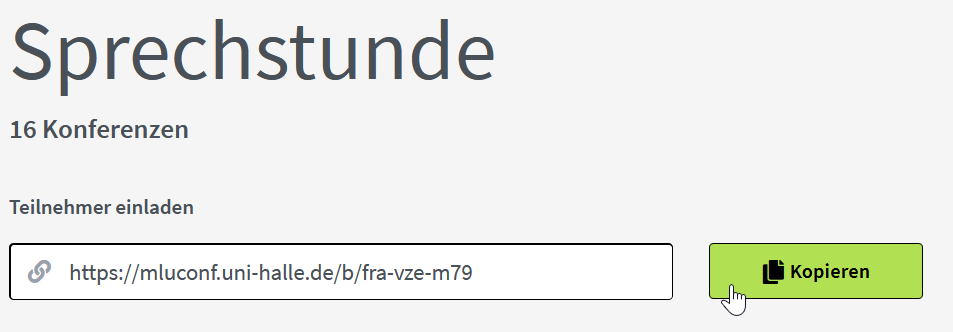
Select the desired meeting-room in your overview. The link to access the room can be found in the “Teilnehmer einladen” field. Use the “Kopieren” button to save it to your clipboard.

Starting the Meeting
Access Link

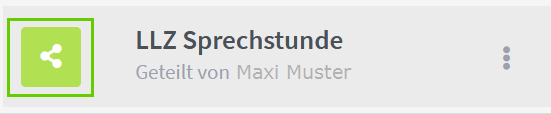
Share a Room with other MLUconf Users
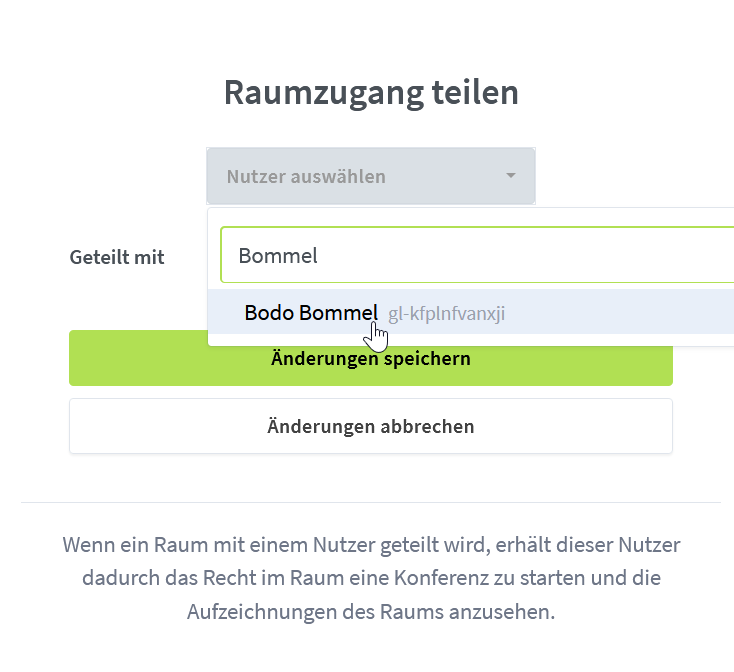
While you are able to share the link to your online room with anyone, the MULconf rooms themselves can only be shared with other members of the MLU (lecturers, students, employees). When a room is shared with another user, that user is granted the right to start the meeting and view the recordings of the room.
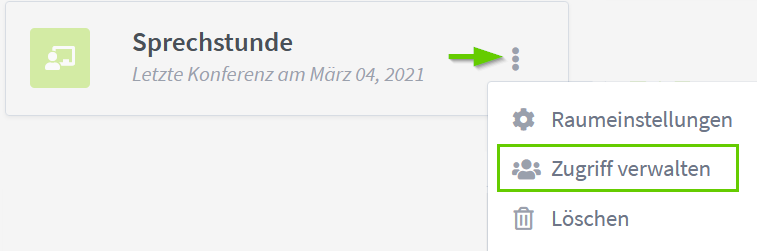
To share access to your room with another MLuconf user, click on the three dots next to your room and select “Zugriff verwalten”. Then, you can search for the user with “Nutzer auswählen”. Save this setting. The selected users can now see the shared room in their overview on the MLUconf homepage. Sharing the link with those users is therefore unnecessary.
It is not possible to modify the settings of a room that has been shared with you, nor can you delete it. You can only remove it from your overview, but then you will no longer have access to it.
Manage Access
Search for Users
Shared Rooms


A detailed description of the function of MLUconf can be found here.
MLUconf on Stud.IP
MLUconf meetings can be used in Stud.IP courses to create digital seminar rooms for each course. By default, only students enrolled in the course can access the meeting room.
Create Rooms on Stud.IP
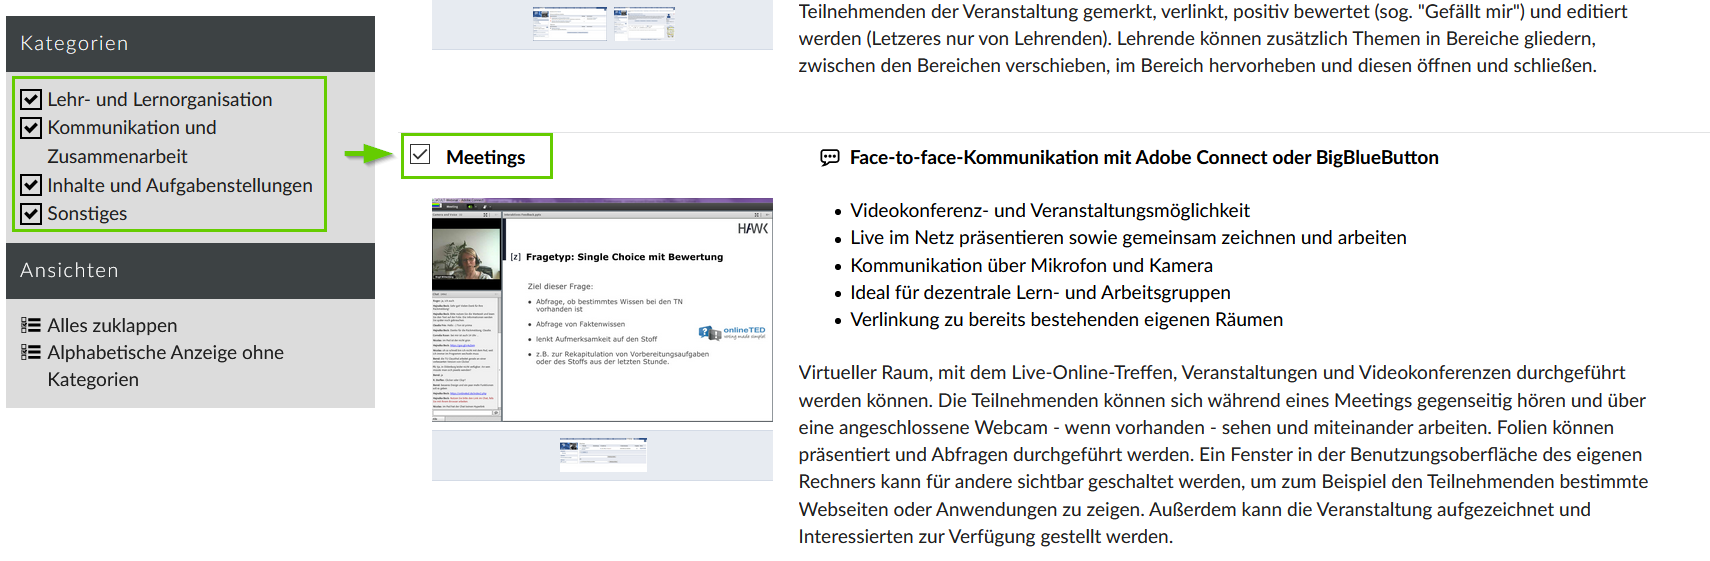
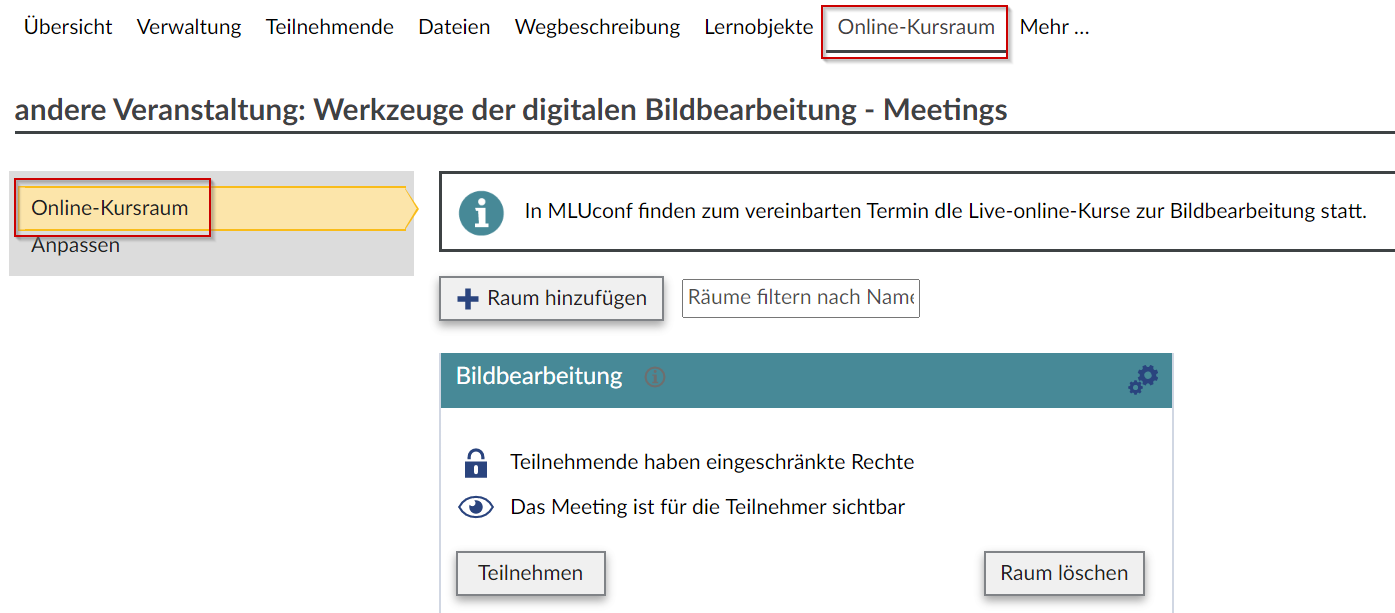
To create a meeting room in your Stud.IP course, you first need to activate the Meeting plugin by selecting “More…” from the top menu of your Stud.IP course. Scroll down to “Meetings” and tick the box.
Note: If you cannot find the “Meetings” option, ensure that you have ticked the box next to the “Kommunikation und Zusammenarbeit” category (=communication and collaboration) on the left.
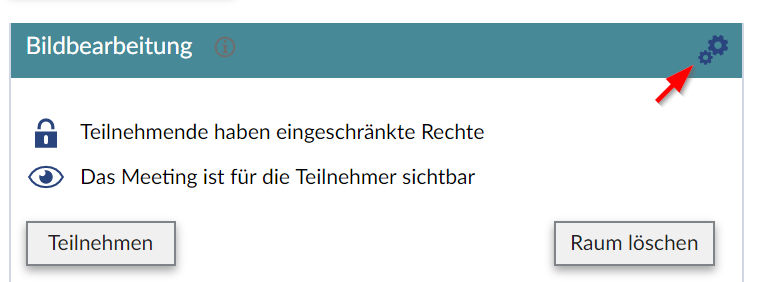
Once activated, the “Meetings” section will appear in the top menu. There you can create a new MLUconf room with the “Add room” button. You can always access the room settings by clicking on the wheel icon. You can easily adjust the admin rights by clicking on the lock or eye symbol, you can quickly change the admin rights (open lock = participants have admin rights) or the visibility of the room (eye with pupil = the room is visible to the participants of your course).
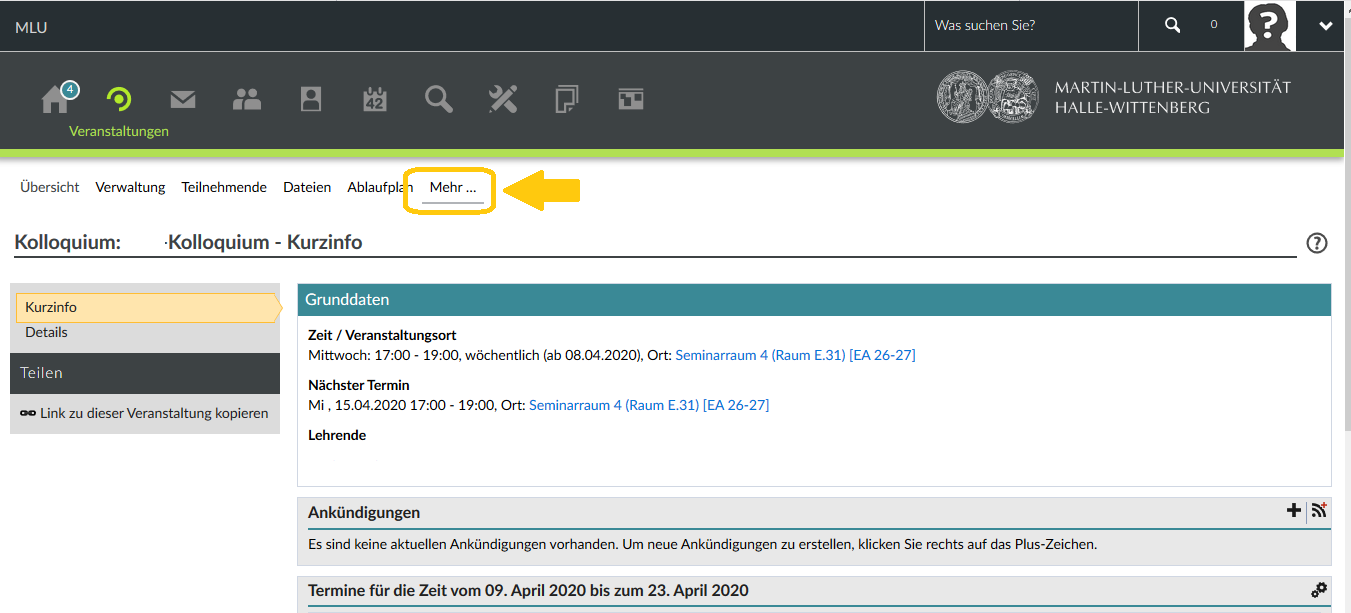
"Mehr..." Button
Activation of Meetings

Creating a Room
Modify the Room Settings


Create Rooms for Study Groups
To activate MLUconf meetings for your study group on Stud.IP, navigate to the ‘More…’ option in the top menu and select the ‘Meetings’ checkbox. This will create a new section for meetings in the top menu, where new rooms can be added using the menu on the left-hand side.
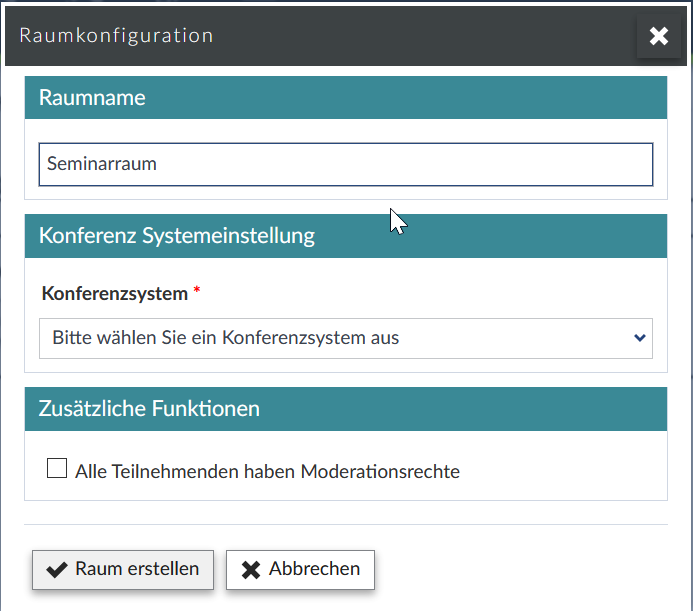
Room Configuration
Room Name
Please enter a telling name for your meeting.
Conference System
Please chose ‘BigBlueButton (MLUconf)’. After this, additional settings will be available.
Room Name
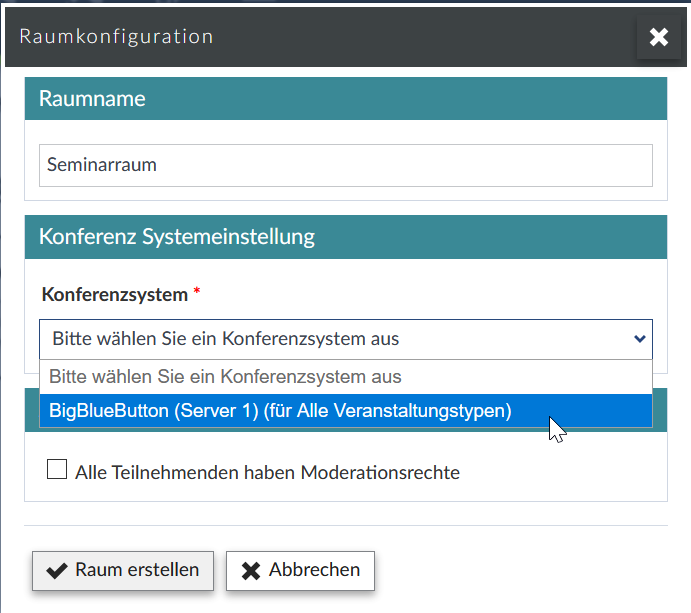
"BigBlueButton"


Additional Settings


- All participants have moderation rights: A moderator has the most rights in an online meeting. If this option is enabled, all participants can change the settings of the meeting and become the presenter.
- Mute all participants initially: This setting disables the microphone of all participants when they enter the room. They have to manually activate their microphone when they want to speak.
- Every participant can start the meeting: If this is activated, all participants can open the online room. Otherwise, they have to wait for the moderator to start the meeting.
| If a specific duration for the meeting has been entered, the timer will start as soon as the online room has been opened. |
- Only moderators can see webcams: With this option, moderators can view the webcams of participants, while the participants cannot view each other
- Only moderators can share audio/ webcams: this prevents the participants to activate their cameras or microphones
- Deactivate shared notes: The shared notes in the meeting room will not be available
- Deactivate private chats: With this setting, the participants will not be able to chat with each other during the meeting. The public chat will still be available.
- Ask moderator before participants get access: A moderator has to allow the access of each participant
- Access via link: this option allows you to share a personalised link with guests. Otherwise, only members of the Stud.IP course/group can access the meeting. The link is generated after your settings have been saved and can be accessed with the corresponding button. Each guest will be allocated a specific link name.

- Maximum number of participants: Here, you can enter a maximum number of participants for your meeting. The number must be between 20 and 250. The lecturers count as participants as well.
Please make a generous estimate of the number of your participants and review this setting if more participants enrol in your course.
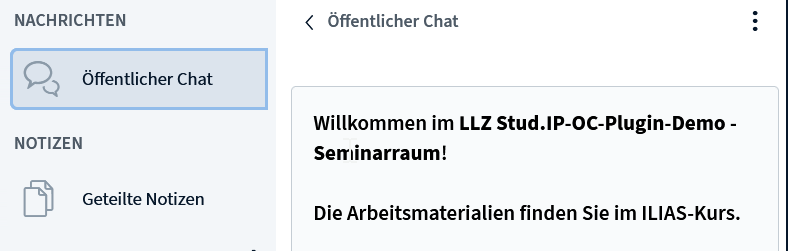
- Welcome message: Here, you can adjust the content of the meeting room’s text field. The variable ‘confname’ consists out of the course name and the room name. HTML tags may be used for formatting.
View MLUconf Room

Recordings
Here you can choose if the meeting should be recorded. Only moderators can start the recording. Select whether only teachers or all participants can access the recorded material.
Group room
If you have divided the course into groups, you can allocate a meeting room to a specific group. Only the members of that particular group will have access to the meeting room.
Automatically Upload Materials
Here you can select material from your Stud.IP course that will be available for presentation in the meeting room. All files from the selected folder will be uploaded at the start of the meeting. For more information, please refer to the Stud.IP-Blog.
Excursus: Customise Tab In the left-hand side menu under ‘Page Customization’, you can modify the tab name and include additional information.
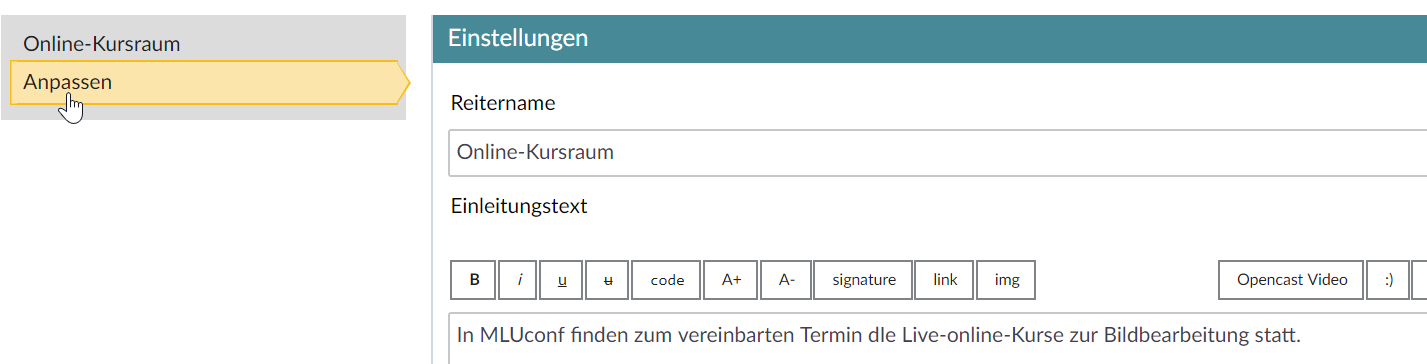
New Tab Name
Application of New Settings


MLUconf in ILIAS
To create MLUconf online rooms for an ILIAS course, you must be the course or group admin. Within a course, group, or folder, click on the “Neues Objekt hinzufügen” button (add new object) to create a new video conference room.

Creating an Online Room in ILIAS

If you want to add a new conference room to an existing course, group, or folder, you need to change the rights settings.
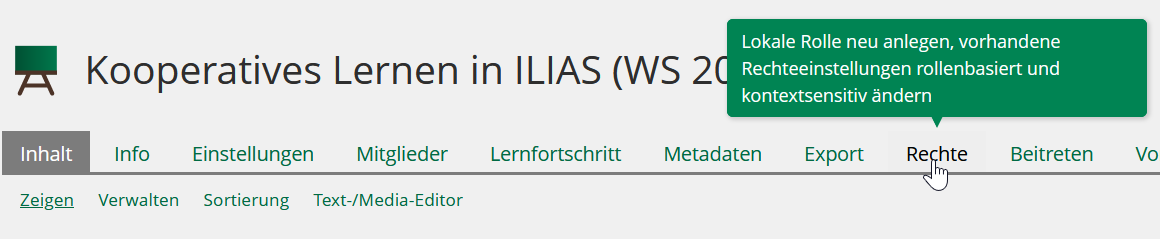
- Go to the tab “Rechte” (Rights) in the top menu
Rights Settings

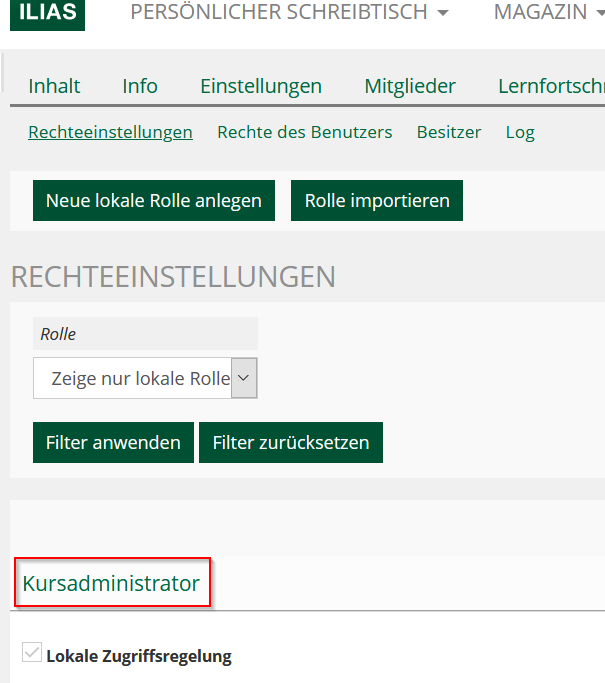
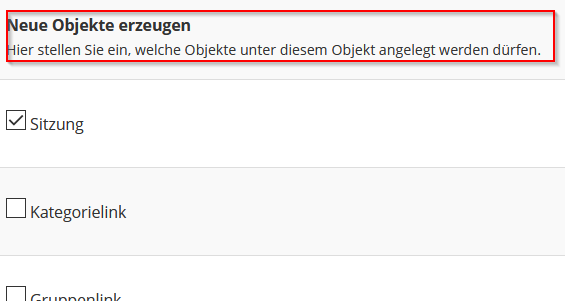
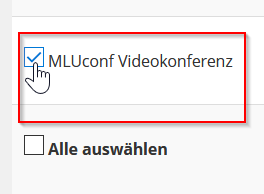
- Go to the section “Kursadministrator” (course admin). There, scroll down to the section “Nee Objekte erzeugen” (create new objects) and check the box for “MLUconf Videoconferenz”. Remember to save your settings!
Rechte der Kursadmins
Section "Neue Objekte erzeugen"
Activation of the Meeting Room
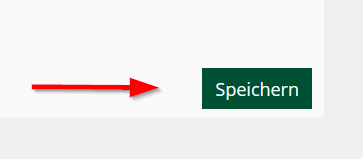
Save Settings


You can now add a new conference room by clicking “Neue Objekte hinzufügen” (add new objects).